Are you looking for the simplest, most foolproof ganache recipe that pours right into your Frost Form and tastes like heavenly fudge? Look no further! This Butter Ganache is incredibly easy to make, less temperamental than traditional ganache, and will leave everyone craving more. Let’s dive into the details and get baking!
Ingredients
Butter:
- Use either salted or unsalted butter, though salted butter adds a delightful contrast to the sweetness of the ganache.
- Make sure it’s real block butter; margarine simply won’t work.

Chocolate:
- Couverture chocolate is your best bet as it contains cocoa butter.
- If you’re using chocolate bars, break or chop them up for easier melting.

Frost Form Butter Ganache Recipe Charts:
Milk Chocolate Ganache (Ratio 1.8:1)
Dark Chocolate Ganache (Ratio 1.6:1)
White Chocolate Ganache (Ratio 2:1)
- Sizing Guide: This recipe is enough to fill a Frost Form with a cake inside up to a 7” high cake. If you want a different height, then divide the ingredients by 7 and multiply by the height you want. For example, if your cake is 5” high you would divide the ingredients by 7 and multiply by 5.
- Measurements: We do not recommend using cups, milliliters, or any other volumetric measurements for our recipes, as they may not provide accurate results. Instead, all our recipes are listed in grams. To achieve the best baking accuracy, we strongly advise investing in a kitchen scale.
Method
-
Melt the Butter:
Start by melting your butter in the microwave or a saucepan until it’s completely liquid and warm. Be cautious not to let it get too hot -
Combine with Chocolate:
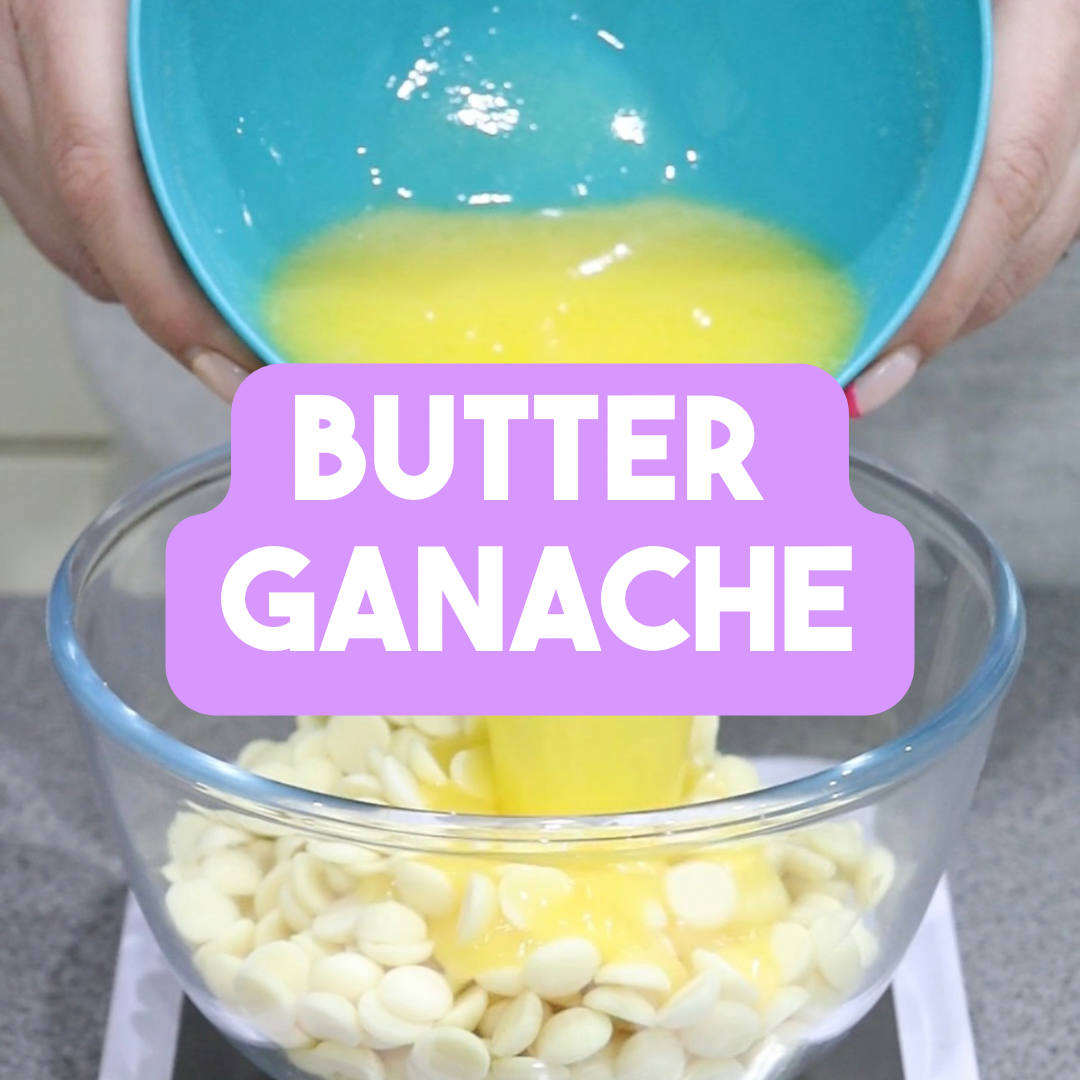
Pour the melted butter over your chocolate and let it sit for 2-5 minutes. This will start the melting process.
-
Stir to Combine:
Stir well to combine the butter and chocolate. Your chocolate may not be fully melted yet, but that’s okay. -
Continue Heating if Needed:
If the chocolate isn’t fully melted, continue to warm the mixture. Use a double boiler or microwave on low-medium heat, stirring constantly. If using a microwave, heat in 10-15 second intervals, stirring well between each interval to avoid overheating.
-
Add Coloring:
If you want to add color, use oil-based coloring products to avoid affecting the consistency. To help whiten the colour we reccomend a few drops of Violet and a decent amount of white colourmill.

-
Pour: Once coloured pour yor butter ganache straigh into your Frost Form.

Setting Time
- Allow your ganache to set in the fridge for a minimum of 2-3 hours.
- In a rush? You can also set it in the freezer for 45 minutes to 1 hour.

Storage
- It’s best to prepare your butter ganache when you need it, as reheating can be tricky.
- However, you can cover and store it in the fridge for up to a week or freeze it for about two months.
How to Rescue Split Butter Ganache: A Step-by-Step Guide
There's nothing more frustrating than discovering your butter ganache has split from overheating, with butter separating from the mixture. But don't worry – we've got a foolproof method to rescue your split butter ganache so nothing goes to waste. Follow these steps to bring your ganache back to life.
Step 1: Let It Sit
Allow your bowl of split butter ganache to sit at room temperature for 1-2 hours. During this time, the ganache will thicken and become more spreadable.
Step 2: Mix Until Smooth
Once the ganache has thickened, mix it thoroughly until it becomes smooth and all the ingredients are well combined.
Step 3: Gentle Heating
Carefully warm up your butter ganache using a microwave on a low setting. Heat it in 10-15 second bursts until it's soft enough to pipe. Be cautious not to overheat, as this can cause the ganache to split again.
Step 4: Piping the Ganache
Since the rescued butter ganache will be thicker than normal, you won't be able to pour it. Instead, fill a large piping bag (18"-21") and pipe the ganache into your mold or onto your desired surface.

Step 5: Set and Smooth
Set the piped ganache in the fridge or freezer as you normally would. Once it's set, you might need to give the outside a gentle scrape to smooth any imperfections.
By following these steps, you can save your split butter ganache and ensure it’s perfect for your creations. Enjoy your beautifully rescued ganache without any waste!
Videos:


74 comments
How many days before the cake needs to be ready ,can I frost form my cake .
What happens if I use gel based colour?
You must be using white chocolate in order to get the color is your getting Will it work with candy melts that are already colored
Entregam no Brasil?
Entregam no Brasil?